Quickstart: Your first RAG
You will learn how to build a small RAG application using RAG Core by :
- Setting up your environment
- Creating queryable document store
- Serving the api/docs
- Adding Question & Answer capacities
Step 1: Setup your environment
rag.py will contain most of your code. Create it.
When running this example you'll need to set some environment vars to display debug and serve static resources.
If you don't have a .env file, create one with this content :
To know what they're doing, refer to the environment variables documentation.
Step 2: Build a Queryable Document Resource
a. Initialize your document resource
The first step is to convert your documents into queryable vectors.
Let's define a Resource to store this vectorized documents.
In RAG-Core, a Resource represents a named entity containing retrievable documents to be injected into prompts.
import os

from langchain_openai import OpenAIEmbeddings

from rag.resources.local import LocalVectorResource

embeddings_model = OpenAIEmbeddings(
    openai_api_key=os.getenv("OPENAI_API_KEY"), model="text-embedding-3-small"
)

resource = LocalVectorResource(
    name="local_resource",
    index_path="local_index",
    persistent=True,
    embeddings_model=embeddings_model,
)
Developer tip
We don't know what you will have as data, so we left out some configuration here.
One of the most important configuration, if you have a process that will update your documents, is to provide the metadata field name that contain your document unique ID to prevent data duplication inside your vector database.
If your document unique id is stored inside $.metadata.udid, pass "udid" to the parameter document_metadata_id
About LocalVectorResource
This class use the InMemoryVectorStore which stores vectors in a dict. It is the lightest vector store currently available.
InMemoryVectorStore is not intended for production purposes, neither is LocalVectorResource**.
It should be used in and limited to educational or demonstration use cases.
In InMemoryVectorStore, vectors are not compressed and are stored and persisted locally. Therefore, we strongly recommend using it with small document datasets (fewer than 1,000 documents).
What about production then ?
Production use case shall prefer remote vector storage such as PineconeResource or local index (dedicated to vector storage) such as FAISSResource.
b. Create an EmbeddingsPipeline
Now we build a pipeline to vectorize our documents and store them in our resource.
An EmbeddingsPipeline allows you to sequentially apply a list of document transformers to preprocess the data and conclude the sequence with an embeddings model resulting in the addition of vectorized documents in your Resource.
Lets start with a simple example with no custom document preprossing.
from rag.core.embeddings import EmbeddingsPipeline

embeddings_pipeline = EmbeddingsPipeline(
    name="Quick Start Embeddings",
    vectorstore=resource
)
Step 3: Serve Your App in the API
RAG-Core includes an automatically generated API.
This API is automatically documented in the OpenAPI standards enabling developers to understand your application and build upon it.
Let's register our brand new EmbeddingsPipeline:
a. Create an API configuration file
b. Configure your API
In api.yamladd:
info:
  name: "Your API name"
  description_path: "my_app/api_description.md" # Update the API description with your needs
  contact:
    name: "John Doe" # You
    email: "john.doe@infopro-digital.com" # Your mail
services:
  - name: "Quick Start Embeddings" # Your EmbeddingsPipeline name
    description: "Document embeddings service for a quick start"
    api_prefix: "quickstart_embeddings" # http://{api_url}/quickstart_embeddings/
    module_path: "my_app/rag.py" # The path to your app file
- The
infosection contains generic information displayed your OpenAPI documations homepage (accessible by default athttp://0.0.0.0:8000/docs) - The
servicessection can contain several applications. All provided services will be automatically loaded and accessible through the same API client.
Info
module_path expects the file path or the folder path (aka python module) where your RAG and EmbeddingsPipeline are instantiated.
c. Add your config to your environment variable
The API client detects the configuration by reading the API_CONFIG_PATH environment variable.
It's default value is app/api.yaml. To load your newly created my_app, set it to you api.yaml file path :
That's it. The API module can build your custom service.
Environment variable management
Add this path to your .env file to persist this information for futher use.
d. Start the api
Simply run:
Developer tip
Set in your .env file AUTO_RELOAD=True and LOG_LEVEL=DEBUG to enable logs and autoreload.
In this mode, any change in your code is immediatly applied to the running server.
Access your API documentation at 0.0.0.0:8000/docs
Your embeddings service should appears like this.
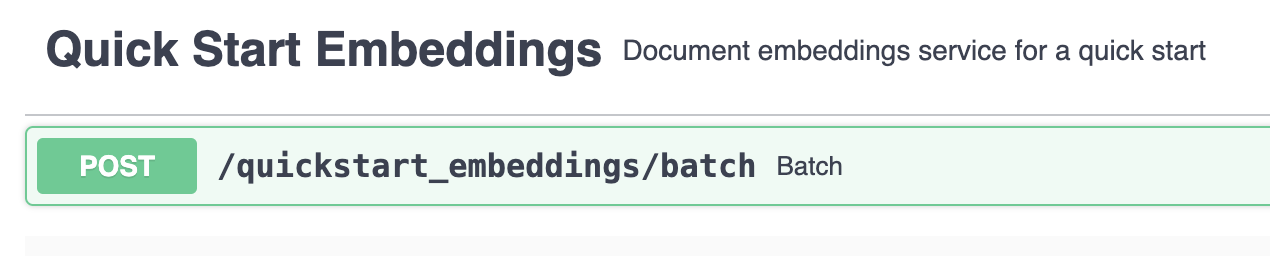
👉 Add a few documents using the embedding /batch endpoint.
Note
The page_content and meta are standard fields for Langchain Documents. Just add your content inside page_content.
You can insert more metadata if you want, but anything outside these two fields are discarded.
Step 4: Add Generative Question Answering Capabilities
RAG-Core is compatible with any langchain chains (aka Runnable). It means endless customisation possibilities.
RAG-Core also provides a few built-in chains (in rag.generation module) but you are likely to endup tuning your own prompt and deep-dive in Langchain abstractions to fit with your particular use case.
Let's build our own answer generation chain.
a. Build your custom generation chain
In my_app/rag.py:
from langchain_core.messages import SystemMessage
from langchain_core.prompts import ChatPromptTemplate, HumanMessagePromptTemplate
from langchain_openai import ChatOpenAI

llm = ChatOpenAI(model="gpt-3.5-turbo")
prompt = ChatPromptTemplate.from_messages(
    [
        SystemMessage(
            content=(
                "You are a helpful assistant that provide answers based on a list of document. If you don't know the answer, just say that you don't know"
            )
        ),
        HumanMessagePromptTemplate.from_template(
            " Context:\n {context}\n\n Question:\n {question}"
        ),
    ]
)

chain = llm | prompt
Spend time to explore Lanchain
If you are not familiar with Langchain and its LCEL numerous examples are detailed in their documentation (Langchain Getting Started).
We strongly suggest you to have a look 👀 before jumping into your own chain customisation.
❗️ Important Note: RAG-Core will inject your documents with the keyword argument context and the user input with the keyword question.
Your prompt template must use these keywords to leverage both retrieved documents and the user question in its generated answer.
b. Plug your chain with your resources
A RAG object plug a list of Resource to your chain
from rag.core.generator import RAG

rag = RAG(
    name = "Quick Start RAG",
    resources=[resource],
    generation_chain=chain
)
Documents aggregation
Under the hood the RAG class transform your resources into Langchain Retrievers.
At inference time all retrievers are queried and the documents collected are numbered and aggregated.
These documents are then injected in your chain via the keyword context of your prompt template. This
mechanism allows any chain to seamlessly consume documents from an arbitrary amount of Resource types.
This retrieval logic can be customized by creating a custom class inheriting from RAG
c. Register your RAG in the API
in api.yaml add in services section:
services:
  - name: "Quick Start RAG"
    api_prefix: "quickstart_rag"
    description: "Question Answering service for a quick start"
    module_path: "my_app/rag.py" # The path to your app file
d. Check your program
Our new RAG application has been automatically added to the API.
Refresh your browser and ...
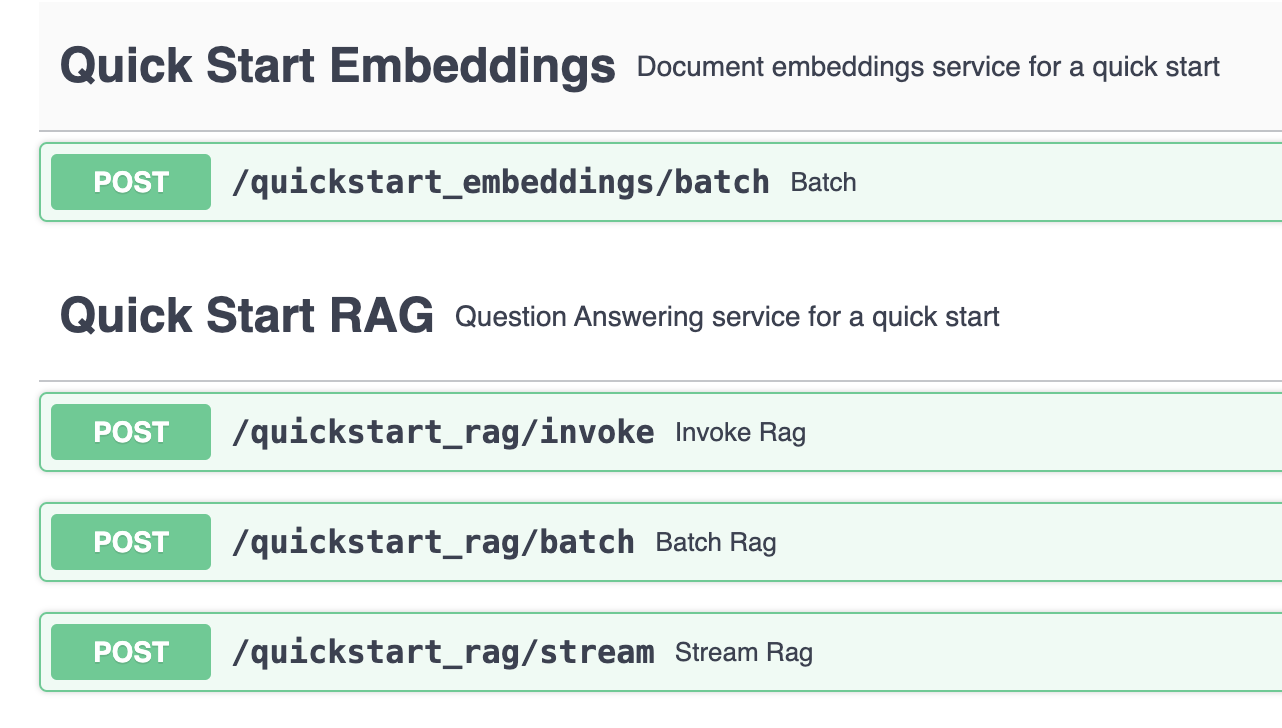 ✨ Tada ✨
✔️ 3 new endpoints have been added:
/invoke: Regular REST endpoind,POSTa question, the API replies with your generated answer and the additionnal informations provided by the generation chain (e.g. references, ids etc.)/batch: Concurrent invocation to process simultaneously several user inputs/stream: Similar to/invokebut answer is returned in streamed chunks
You can test your RAG application within the API documentation by clicking "Try it out". Obviously you have already used the embedding endpoint to insert data inside your Vector store.
The end
🎉 Congrats!
You've implemented your first production-ready RAG application!
If you are interested in exploring more advanced example:
Check out USN Q&A Example
Thanks for reading until this part. We hope you've enjoyed it!